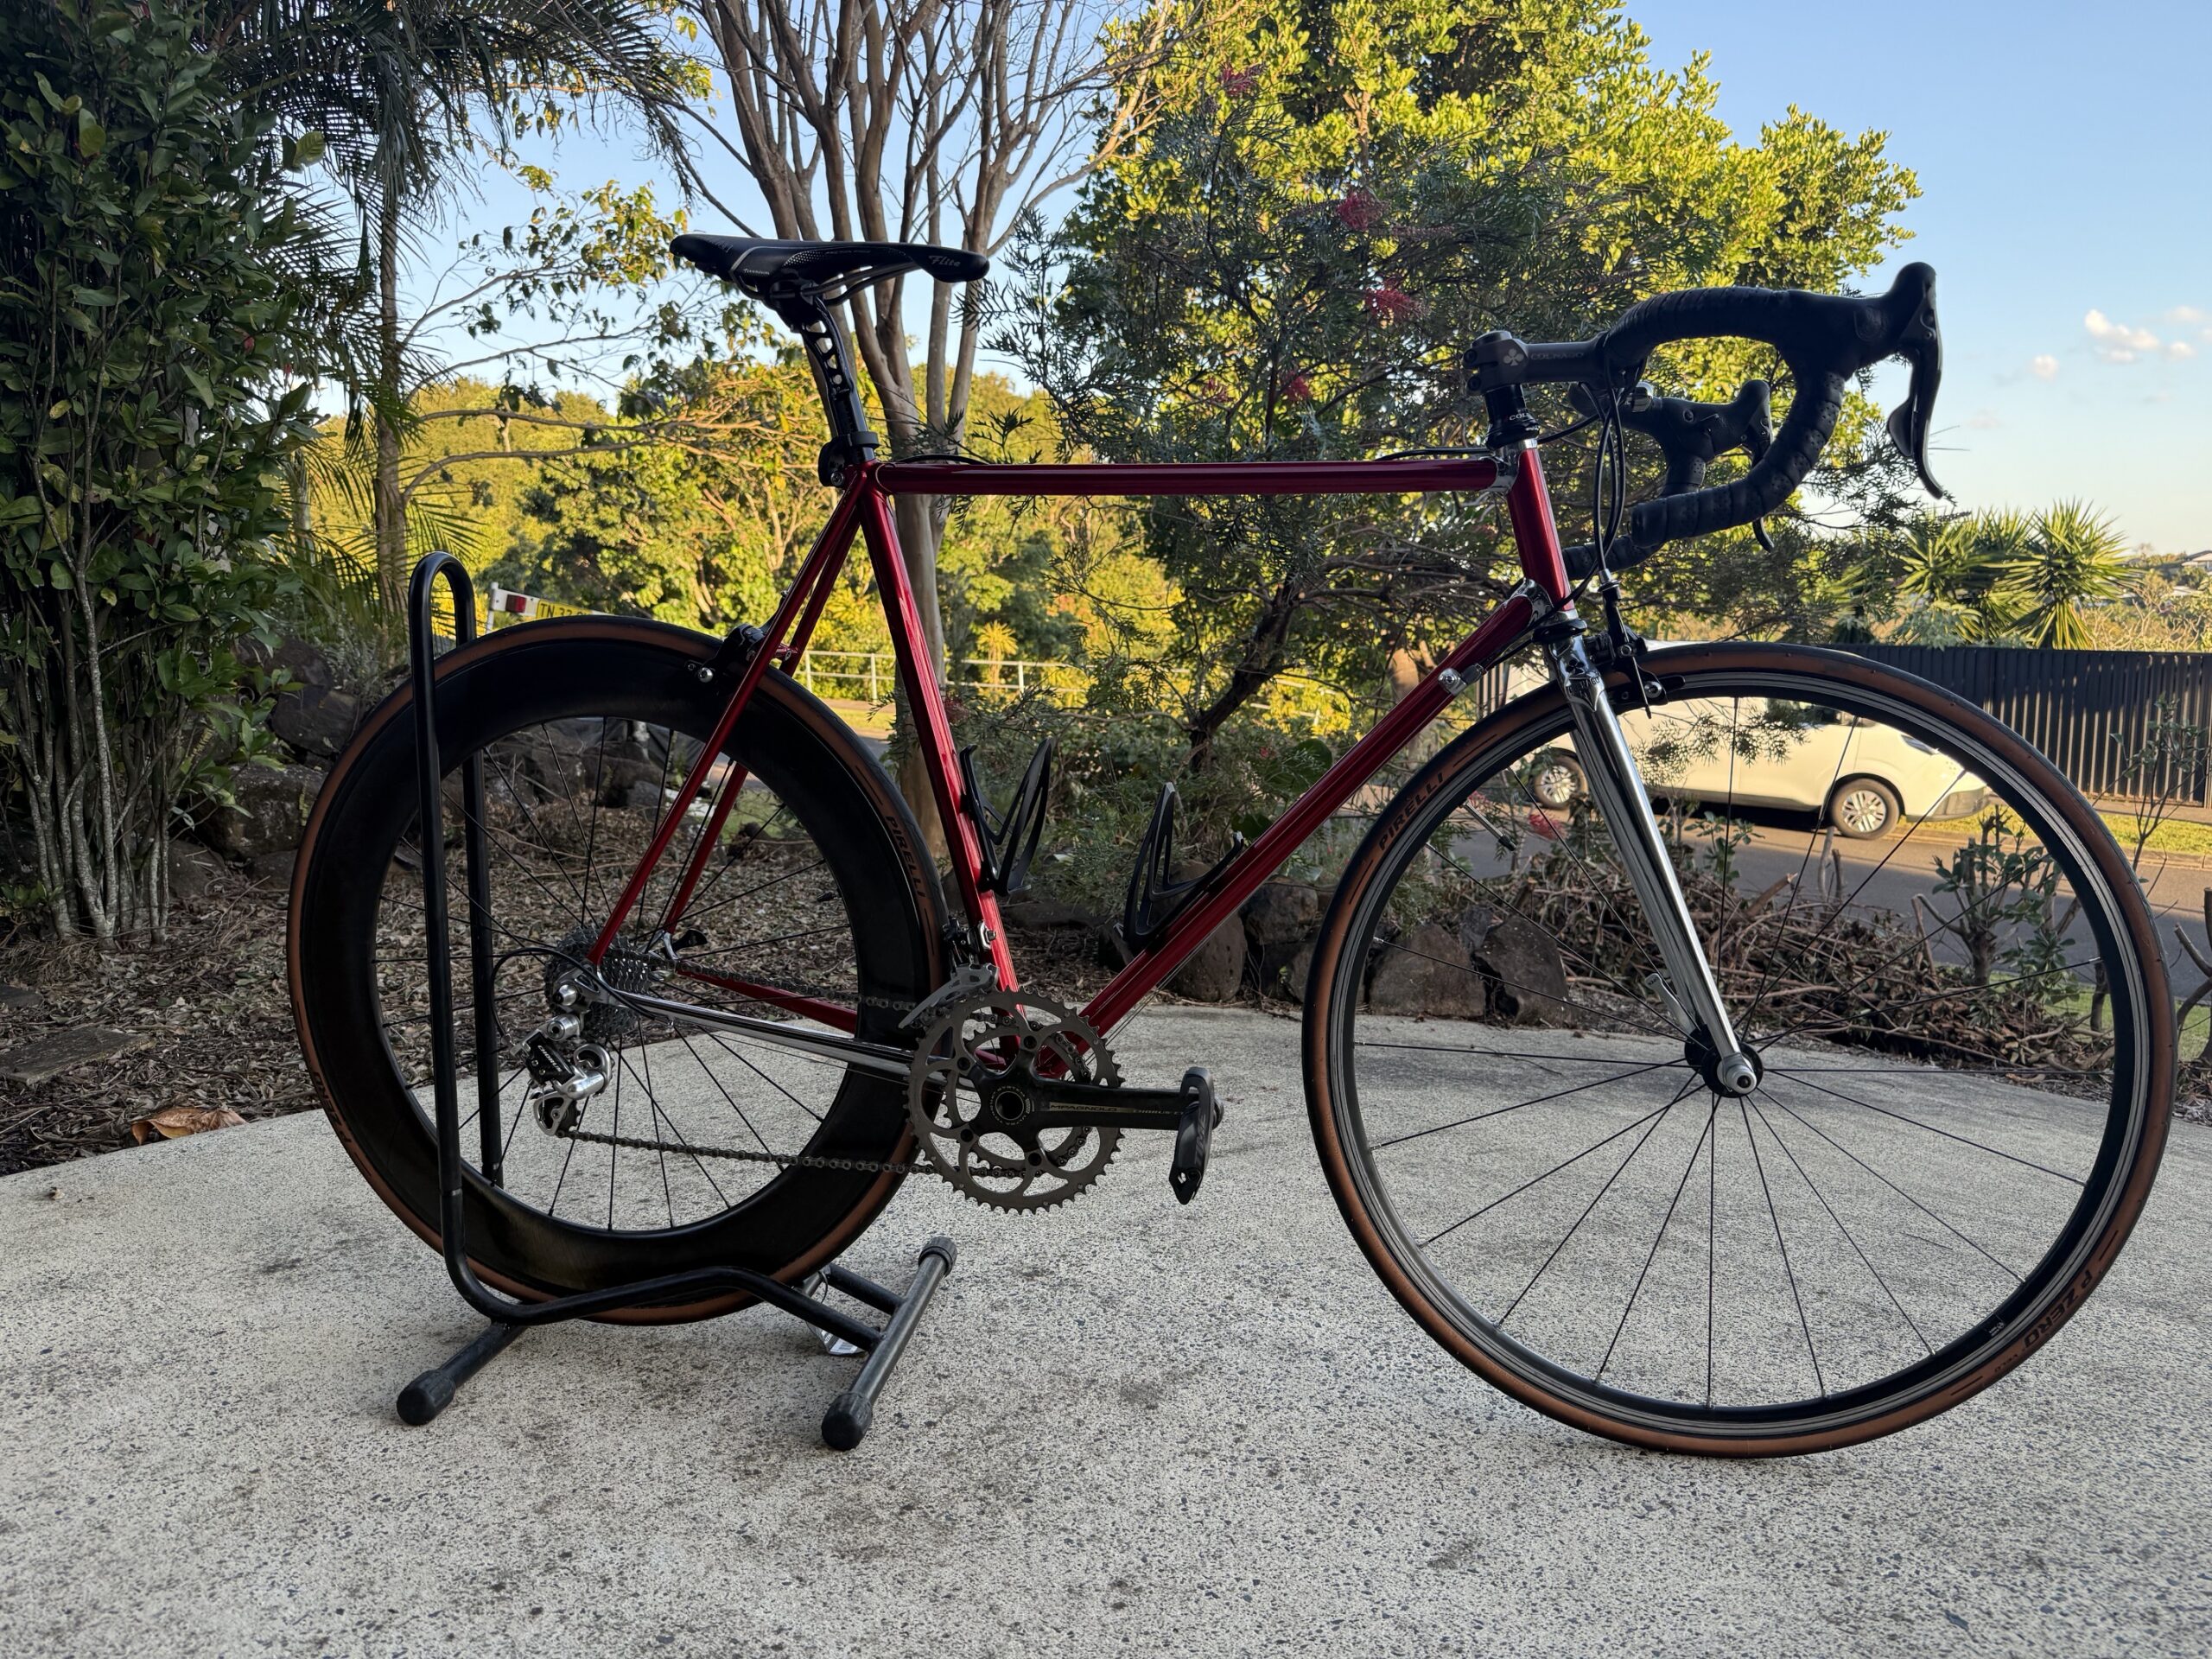
David started restoring this beauty, but life happened and he couldn’t see the project through. It rattled around in his shed and then his storage unit untiIl he was forced to move out and he brought the frame to me. He didn’t want to part with it, but he’d come to accept that he was never going to be able to finish the project and he wanted it to go to a good home. He wanted it to be finished.
So, we agreed on a price and I took on the dream.
It came with a few bits and pieces, but the real gem was the frame itself. It was in great condition, had been repainted and rechromed and they’d done a good job. David had chipped a couple of bits off here and there, which gave it an nice bit of character. Just enough that you wouldn’t be afraid to ride it!
However, there was one fly in the ointment and I think this is the insurmountable obstacle that David had been confronted with; the fork steerer thread had been damaged, someone had tried to fix it and made the top 10mm pretty much useless, so it didn’t fit in the frame. Well, it fit, there just wasn’t enough thread to get a decent Campagnolo headset onto!
Now I was also faced with the obstacle. What to do, what to do?
I approached my usual supplier of Colnago parts to see what legacy parts he had hidden away. “I’ve got just the thing,” he said, and sent it out. That, “Just the thing,” was a much older fork with a curved rake. Not what I wanted actually, but, fortuitously, exactly what I was looking for, for another build.
Back to the drawing board. The same drawing board in fact, or at least the same supplier. They were apologetic and told me to send it back, “No, no.” I said, I’ll keep it for another project, just send me out the Prescia fork, which they did. It turned out to be unthreaded, but I have tools to deal with that! Well that was the plan anyway.
So, now I had a new Prescia fork that was unthreaded. It turns out that I also had a Colnago 1″ threadless headset – fancy modern, and still available to buy at the time. Perfect. Order another one tout suite and pop this one straight into the frame. Fitted the fork it and hey presto, a complete 1991 Master frameset ready to build!
Look at me go!
I had an old Colnago stem of about the same era and a Deda bar lying around, both of which may have done service on the ’83 Mexico at some point. After a bit of sifting through boxes of parts … “I know I’ve got one somewhere …,” I found most of a 10 Speed Chorus carbon gruppo that I had inherited from one of our clients who had done an upgrade. I thought, “Let’s just pop that on and see how it looks.”
Well, it looked damn fine.
But the wheels were off another bike, they had silver rims and while normally I’m a big fan of shiny things like highly polished alloy rims, I was thinking that this build needed black rims, not silver. And I also had another hideous generic seatpost.
I do have quite a lot of wheels. Some wheelsets. A bunch of orphans. A lot of rims and hubs. I had a bit of an idea of what I wanted the final build to look like, but I wasn’t really sure I had anything that fitted the bill and I didn’t want to splash out on a custom wheelset. I did look at trying to buy something new pre-built, but there wasn’t anything that fit the picture I had in my mind.
What I was thinking of was carbon, something like a deep section rear, maybe 80mm and say a 35mm front and I really didn’t want an alloy machined sidewall/braking surface. After sorting through everything I had and everything I could readily access from my suppliers, I was at a bit of a loss. And also a bit desperate. I had to put something in there.
I did have a set of Khamsim wheels and I fitted those with a pair of Pirelli P-Zero Classic tyres (26mm), the ones with the tan sidewall. They looked the business, but any time you loaded up the pedals, the rear wheel would pull forward and the tyre would rub on the inside of the non-drive side chain stay. Shit.
But, I’ve played this game before.
Years ago, I bought a pair of Bontrager Racelite wheels from Keith Wong at Bicycle Express in Adelaide. First acceleration off the lights, I pulled the wheel. Tightened it up, but happened again. Went back the next day to see him. He was a bit skeptical at first, a new experience for both of us.
I said to him, “I reckon it’s the plastic spacer at the end of the skewer that deforms under load because it’s designed for a vertical dropout, not an older frame with horizontal (-ish) dropout.”
Well Keith was a smart bloke, but after a decade or more in retail he’d heard more than a few half-baked ideas from customers and wasn’t convinced. “Just lend me an old-school steel skewer,” I said, and with nothing to lose, he did. I went for a ride, a bit tentative at first; I didn’t want to lose any more paint off that stay, or rubber off the tyre – I was still a Uni student after all.
Well by the time I’d gotten out of the saddle a couple of times, I was feeling pretty confident, so at the next thing that looked remotely like a finish line, I dug deep and just went for it! In for a penny, …. and nothing, nada, solid as a rock. Rolled back to Keith and told him. He was still a bit sceptical, but when I offered to pay for the steel skewer, he gave it to me; as long as I was happy, he was happy.
So, here we are with the Master and the same situation, but no amount of steel skewer application is working, not fancy Mavic ones, not cheap-ass generic, heavy as the rest of the bike, industrial strength spare parts off a T34, nothing worked. Scuffed up the dropouts, still slipped. I was ready to give up and strip the frame, until I was having a bleat to Adam and he casually said, “Oh, that happens all the time with Khamsin, just try different wheels!”
“You’re kidding me?” Could it really be that easy? So, I went looking for another wheel, something that was just lying around. Ironically, a Bontrager wheel, an Aeolus 7, with a Campagnolo 10 speed freehub body, not something every shop has lying around I daresay! Well, I popped the cassette on and the tyre and tube and into the bike and let’s go for a roll. And that was the end of that!
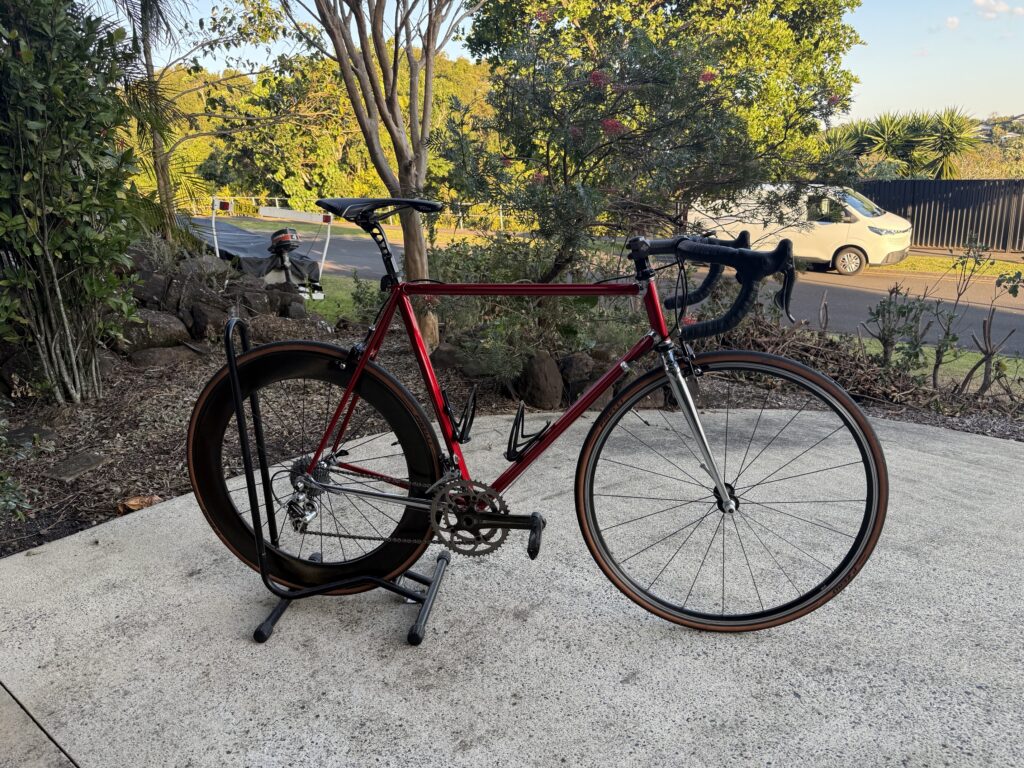
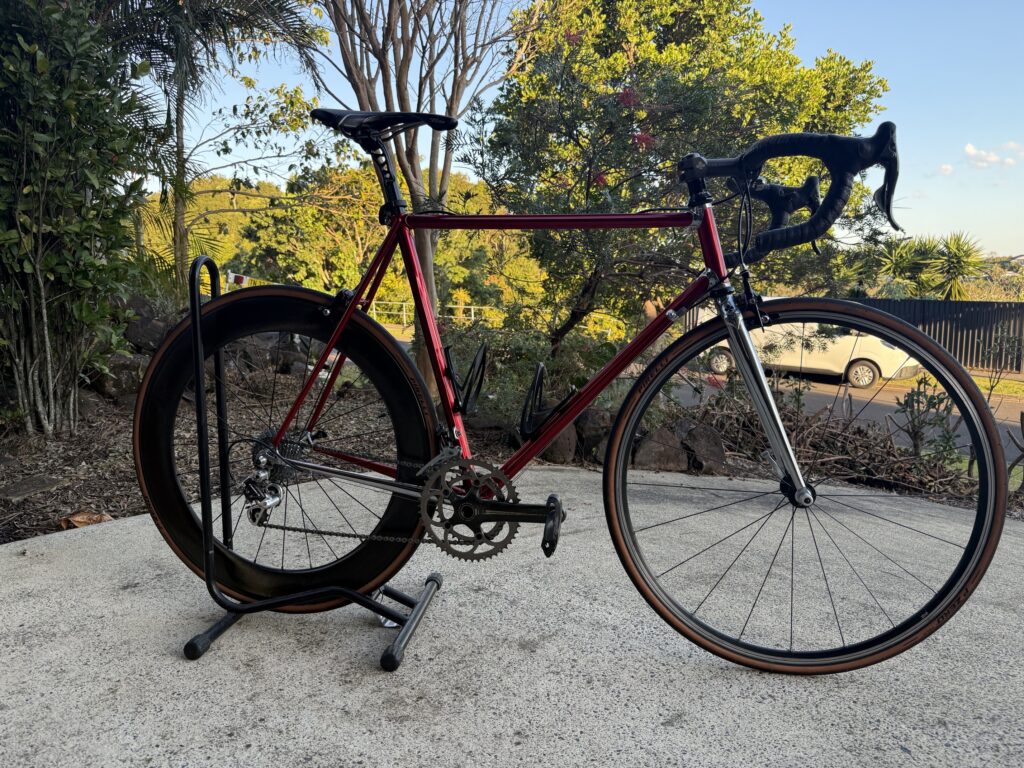
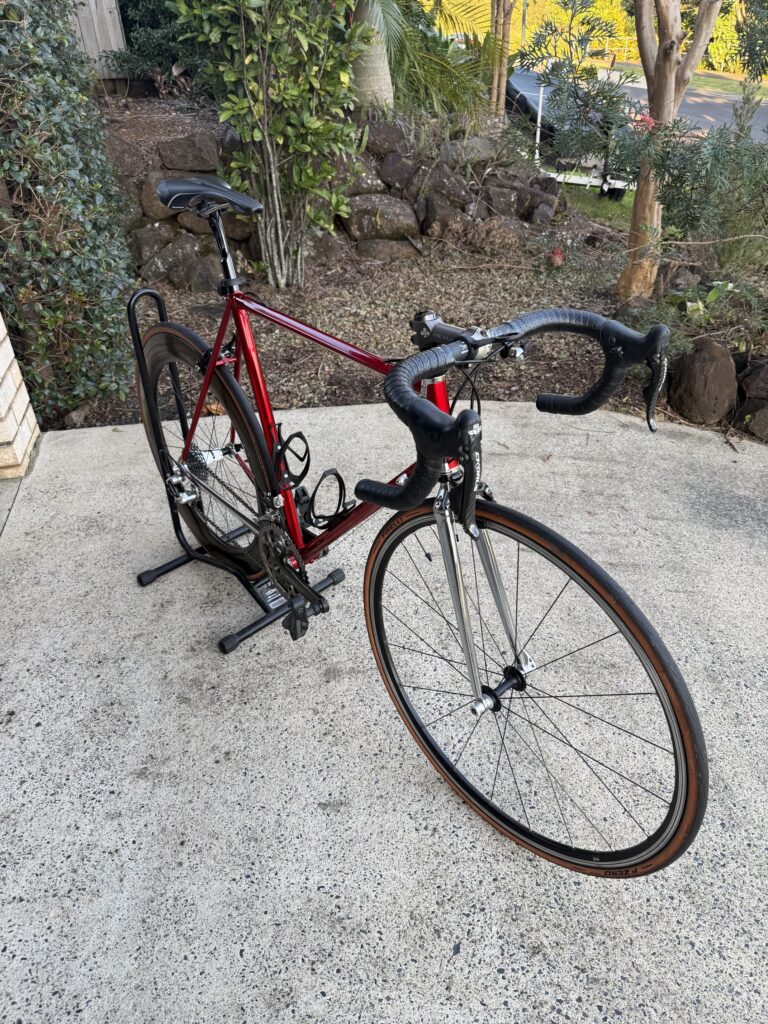
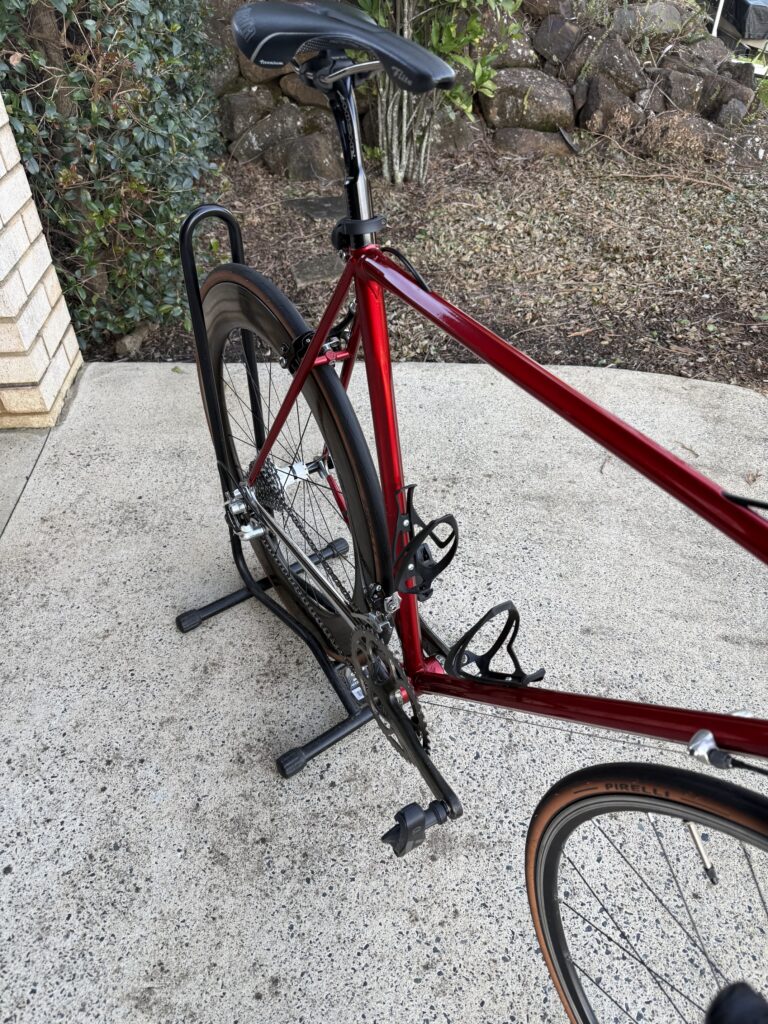
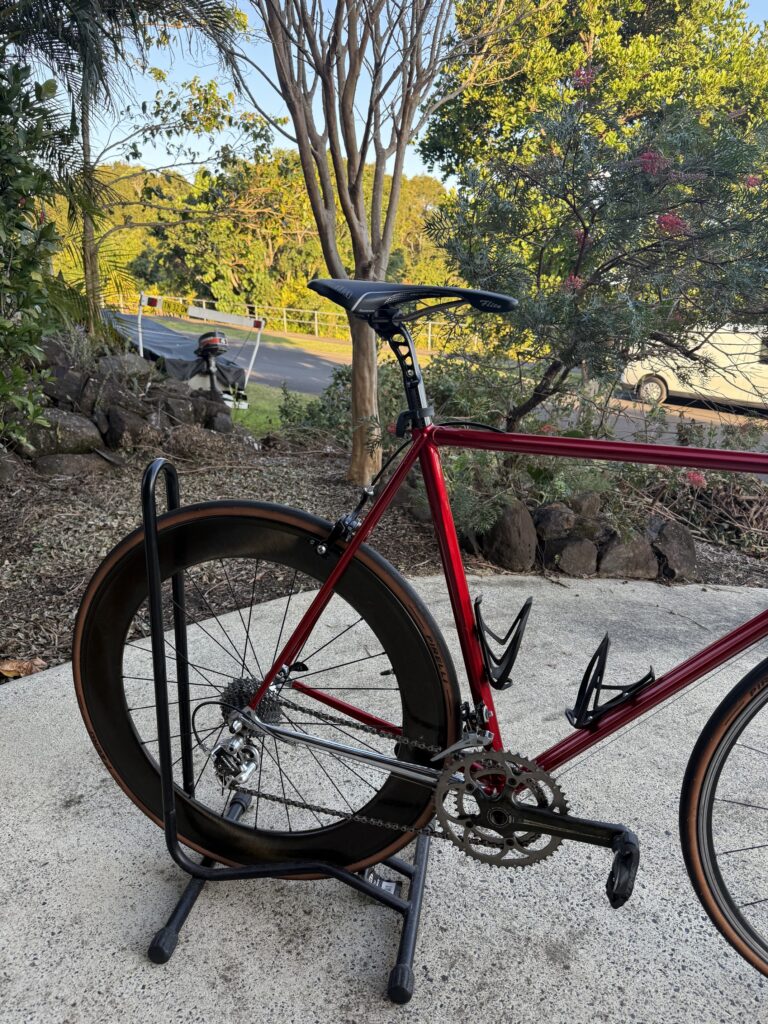
Well, not quite, but at least the wheel wasn’t squirming around like a freshly caught mullet. It was a good looking wheel, but it did look a bit garish and out of place with it’s McMassive Bontrager stickers, so we got rid of those with judicious application of WD40 (about the only thing it’s good for on a bicycle) to achieve a more seductive look in keeping with the project. Actually, it looked so good that there wasn’t any question of going back to something else. This wheel was now part of the finished bike. Even the quite hub shell, while it initially looked a bit out of place, it just draws your eye to that wheel and makes you look at it a bit more closely and appreciate what it really is. And the sound of the freehub body resonating through the deep carbon rim was amazing!
But that still left me looking for a front wheel.
It needs to be carbon, but a 70mm deep section on the front as well would look a bit wankerish. Not that I’ve got one. I’ve got a HED Tri Spoke,probably a bit OTT, but I’d give it a go, only it’s a tubular and I don’t want to deal with that. I have a nice carbon SRAM wheel, but it has an alloy braking surface, while the Bontrager has a carbon braking surface. I have a set of Reynolds carbon wheels, nice, but garish decals, matching pair, 50mm deep section, Shimano freehub … probably not.
I guess I kind of gave up on the front wheel at that point and just stuck black CXP23 in there with a 105 hub, Not ideal. But at least a wheel. So, I put that on hold and started looking for a seatpost.
WTB. Carbon front wheel, QR, with carbon braking surface, 35-40mm section, clincher in good used condition.
One of the things about being bicycle obsessed over many years is that you look at a lot of bling and save pictures of cool parts and so on. A lot of those images or fragments of them stick in your mind and after looking at a lot of different pictures of seatposts I guess it triggered something I’d once seen. A sort of skeleton seatpost, with cutouts in it. As usually happens, I was searching for something completely different when I first saw it, thought, “That looks cool,” kept scrolling … later when seriously thinking about the seatpost not just any old thing, what I need is, …. that Miche one I saw the other day/week/whatever, I wonder if I can find that again. Obviously, it was meant to be because not 5 minutes later I’d found it. The Miche Super Type seatpost. Oh yeah!
It took me a bit to commit because it wasn’t cheap, but I did end up ordering it and it duly arrived. Glad I did because I’ve tried to find another one and had no luck so far. When I put the seatpost in the bike and stuck a saddle on it I was blown away. Yep, that is exactly the right part, 100%.
Apart from the front wheel, the only thing I didn’t yet have was a set of brake calipers. When old mate did the upgrade on his Bianchi, the gruppo donor, he kept the original brake calipers. So, I started sifting again. I had a few sets and some orphans; I really liked a set of older Mavic single pivot calipers, but I just didn’t feel that they were right.
Then I thought about a new set of Chorus skeleton brakes that I’d bought for a different project that hadn’t progressed. I went and found that box of bits and had a look at the brakes. I guess that I hadn’t ever really opened the box to see what those calipers actually looked like up close, just put them aside when they arrived. So when I opened those for a good look, I was completely sold. Absolutely spot-on. So happy with those.
By that stage I had all the cabling sorted so I wrapped the bars with some Specialized Classic Wrap handlebar tape that I’d been saving for a rainy day. That really completed the picture and left me with just the wheel to deal conundrum.
I had kind of given up on the bike for a bit, I couldn’t find what I thought I wanted anywhere. Nothing on eBay or Facebook Marketplace, I had tapped all of our suppliers on the shoulder to see if they had an orphan, tried a usually reliable supplier of retro parts and nothing. I was almost at the point of buying a wheelset just to strip the front wheel out of it – I figured someone, someday would come in with a wrecked rear wheel and need something, anything to get back on the road …
As so often happens with these projects, serendipity decides to play a hand. I had been forced to relocate a large proportion of my vintage bike building and parts storage from a rather spacious office (not so spacious full of bike parts) when I moved out as part of rearrangement of accommodations a few years ago. As a matter or expediency, everything was just boxed and bagged and taken to my storage shed and unceremoniously dumped down the back to sort out later.
Well later came the next time I needed parts for a project and upon arrival at the shed I found myself with a bit of a job to sort things out. So, I started a bit of a tidy up, which took a couple of trips and the purchase of a battery powered floodlight. As I was wading through the morass of parts, I had just put all the wheels, most of them in wheel bags, off to one side. After I had done most of the small parts, groupsets, etc, I decided to sort out the wheels before moving onto the jumble of handlebars. I opened one single wheel bag that I had picked up and thought, “Wow, that’s quite light. I wonder what that is?” So, I opened that bag and rolled out a very tidy looking Ritchey front wheel, no tyre, but the original skewer. I have a vague recollection of someone donating it to me after they bought a new wheelset – after wrecking the matching rear on a pothole and chucking it away.
When I saw that wheel, I immediately thought that I might look OK on the Master. And the rest, as they say, is history.

Leave a Reply
You must be logged in to post a comment.